Table of Content
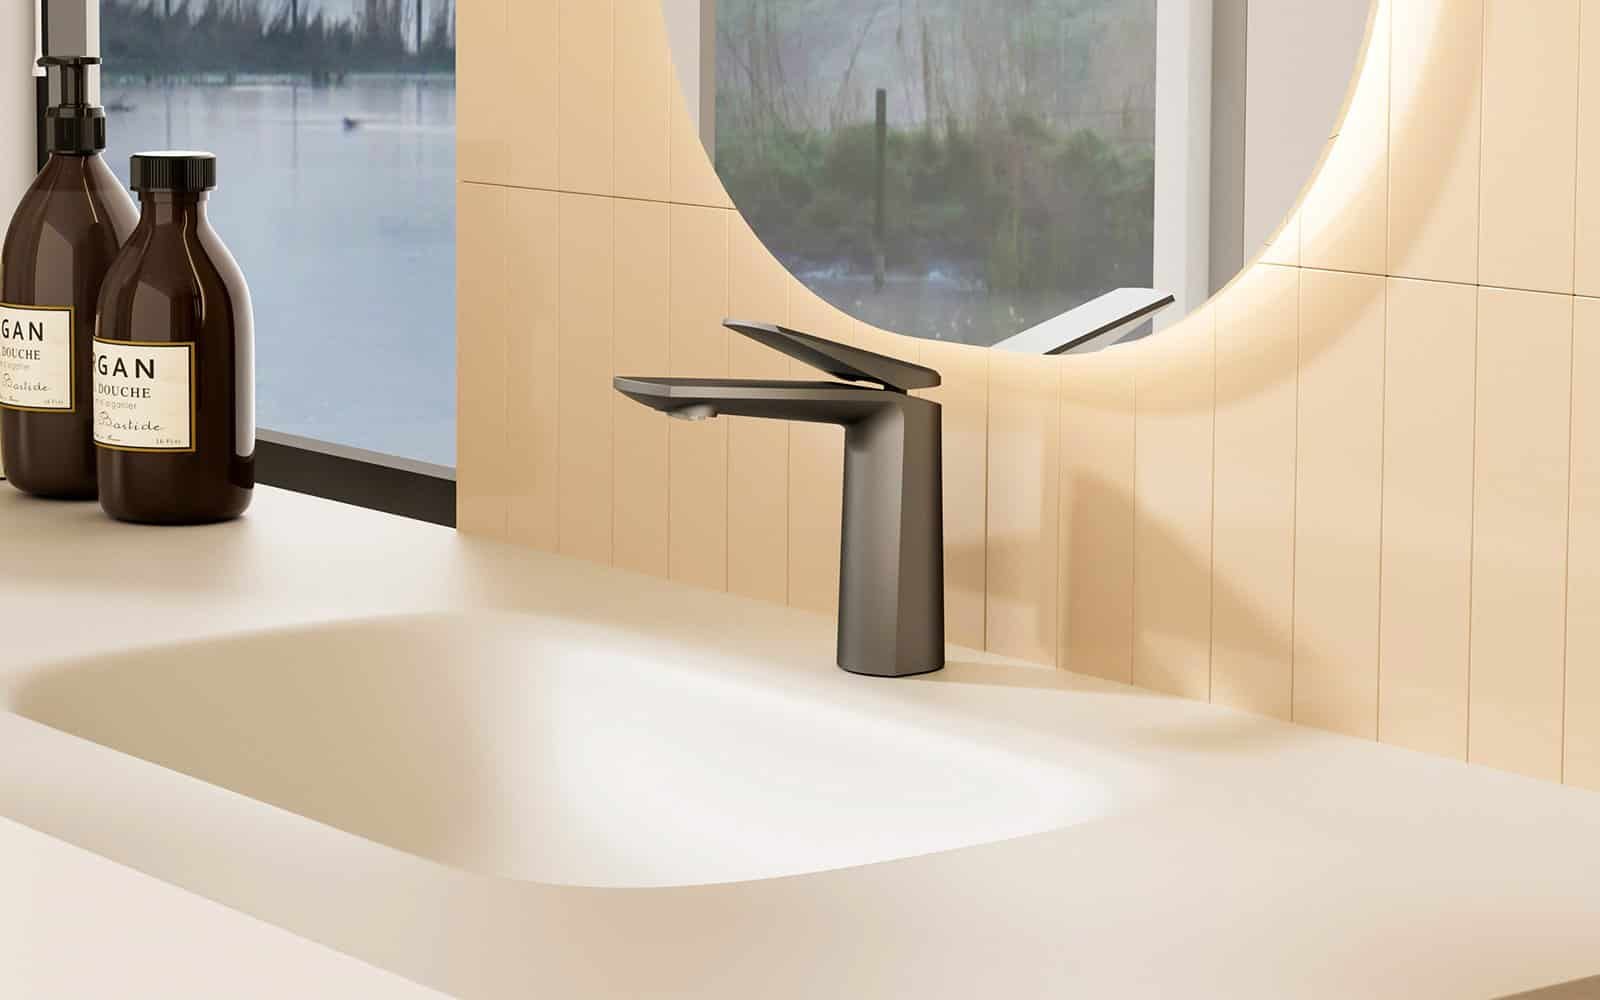
Removing a faucet handle is easy with the right tools and instructions. Whether you’re replacing, installing, or fixing a handle, knowing how to do it correctly is important. Below, we’ll walk you through the entire process, step by step.
Why Would You Need to Remove a Faucet Handle?
Before we dive into the “how,” it’s important to know why you might need to remove the faucet handle in the first place. Some common reasons include:
- Fixing a Leak: If the handle is loose or leaking, removing it and checking the parts may fix the issue.
- Replacing the Handle: Old handles can become worn out or broken, requiring a replacement.
- Cleaning Underneath: Mineral deposits or debris can build up under the handle, and cleaning it can fix the faucet.
- Upgrading the Look: To update the look of your faucet, remove the old handle to replace it with a new one.
Tools You Will Need
Before you begin, gather the following tools:
- Screwdriver (Flathead or Phillips): Depending on the screw type securing the handle.
- Allen Wrench (Hex Key): Some faucets use a hex screw instead of a traditional screw.
- Adjustable Wrench: For loosening and removing any other parts connected to the handle.
- Pliers (Optional): To help with any stubborn parts.
- WD-40 or Penetrating Oil (Optional): For rusted or difficult screws.
- Faucet Handle Puller for particularly stubborn handles.
- Hairdryer or Heat Gun for applying heat.
- Ice Pack or Frozen Peas for applying cold.
Step-by-Step Guide to Removing a Faucet Handle
Turn Off the Water Supply
Protect the Area
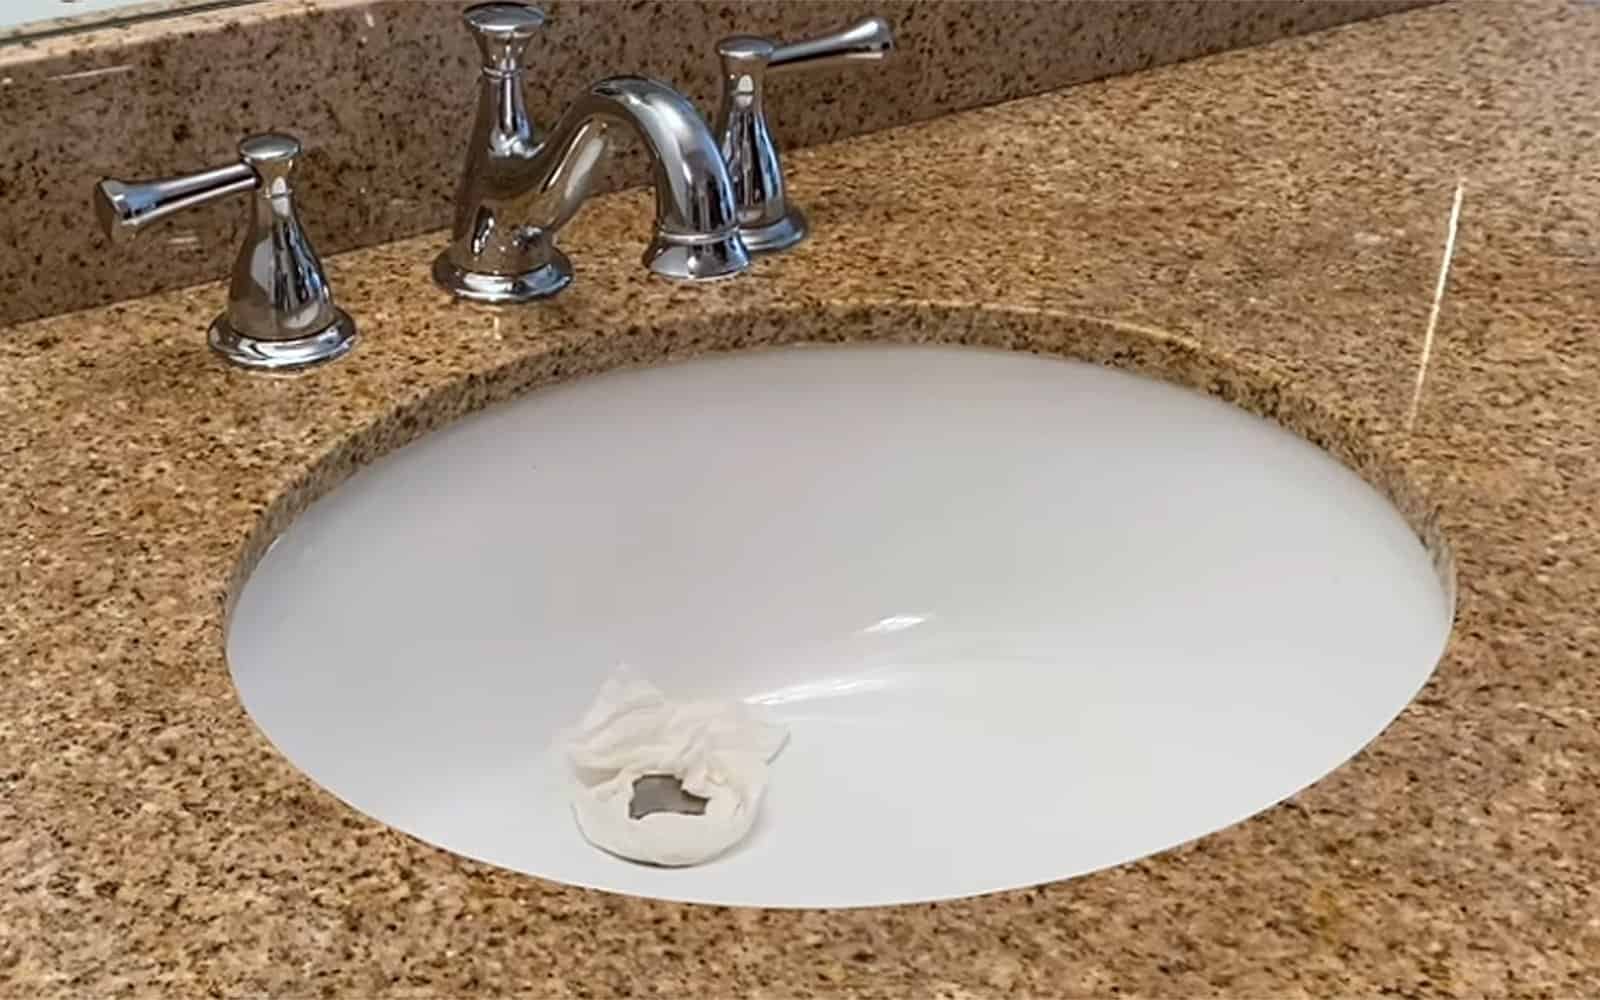
Place a towel or a rag in the sink to protect the surface and catch any parts you might drop. This will also prevent any debris from falling down the drain.
via.arg 10»
Locate the Handle’s Set Screw
Look around the base of the faucet handle. A small screw (also called a set screw) usually secures most faucet handles. Depending on the model, this screw might be located in one of the following places:
- Underneath the handle:Look for a tiny screw at the base of the handle, often hidden beneath a decorative cap.
- On the side of the handle:Some models have the screw on the side, directly visible.
- Inside the handle:You might need to remove a cover or button on top of the handle to access the screw.
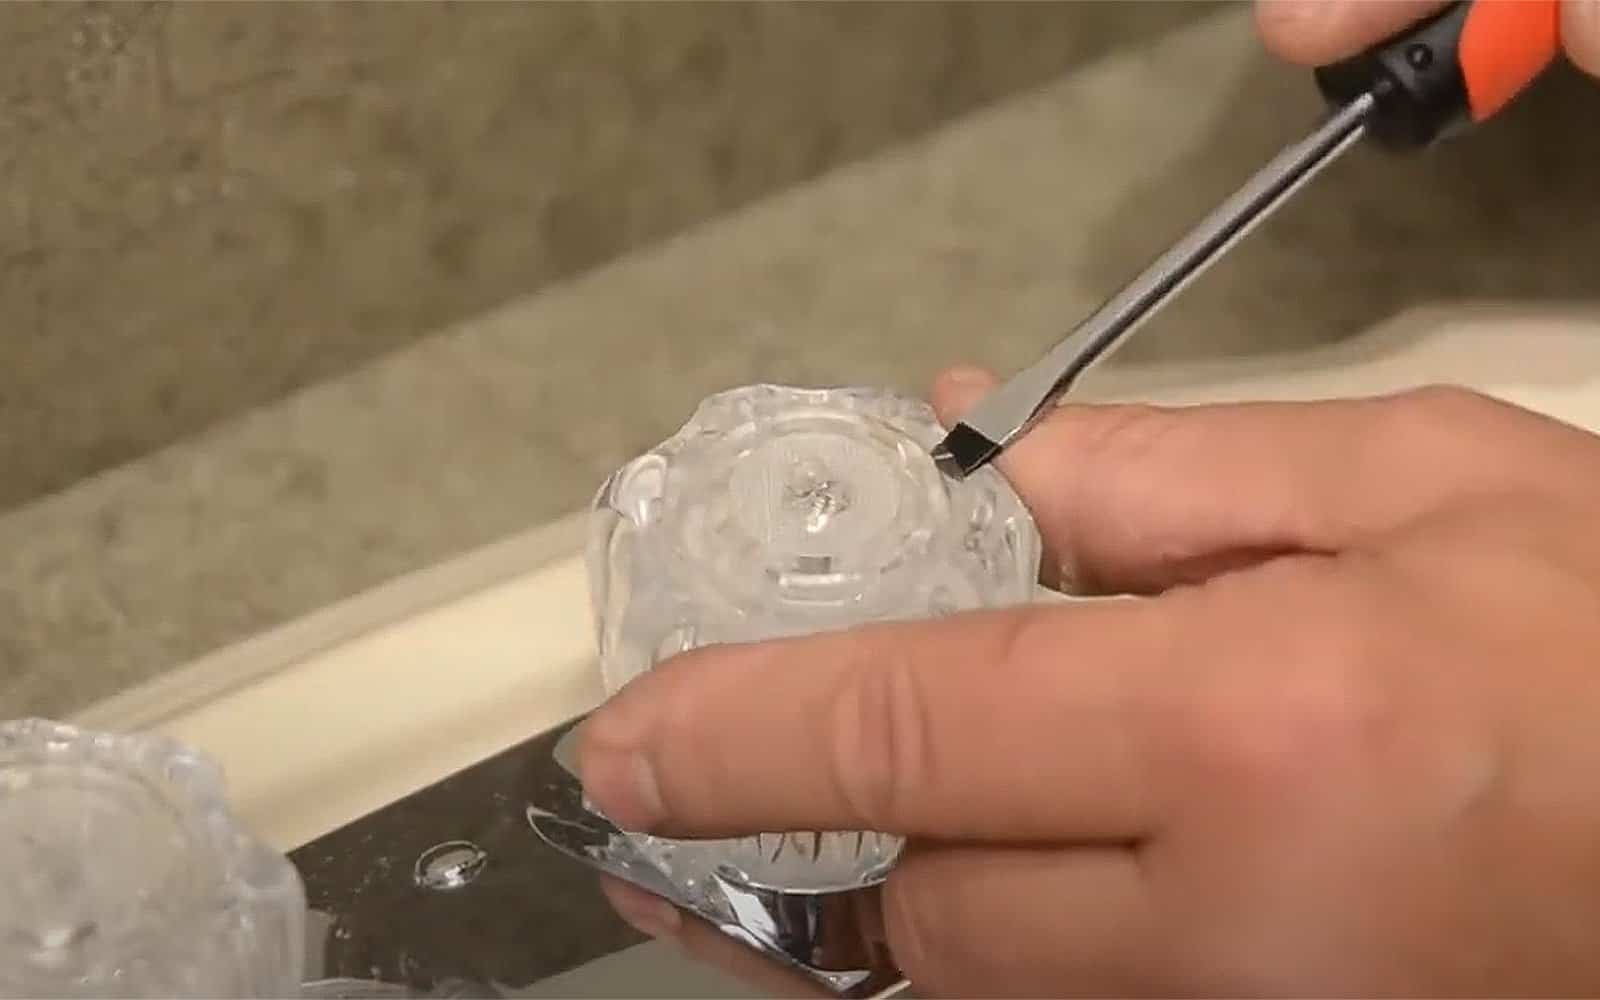
Remove the Decorative Cap (If Applicable)
If there is a decorative cap or cover hiding the screw, pry it off gently with a flathead screwdriver. Be careful not to scratch the surface.
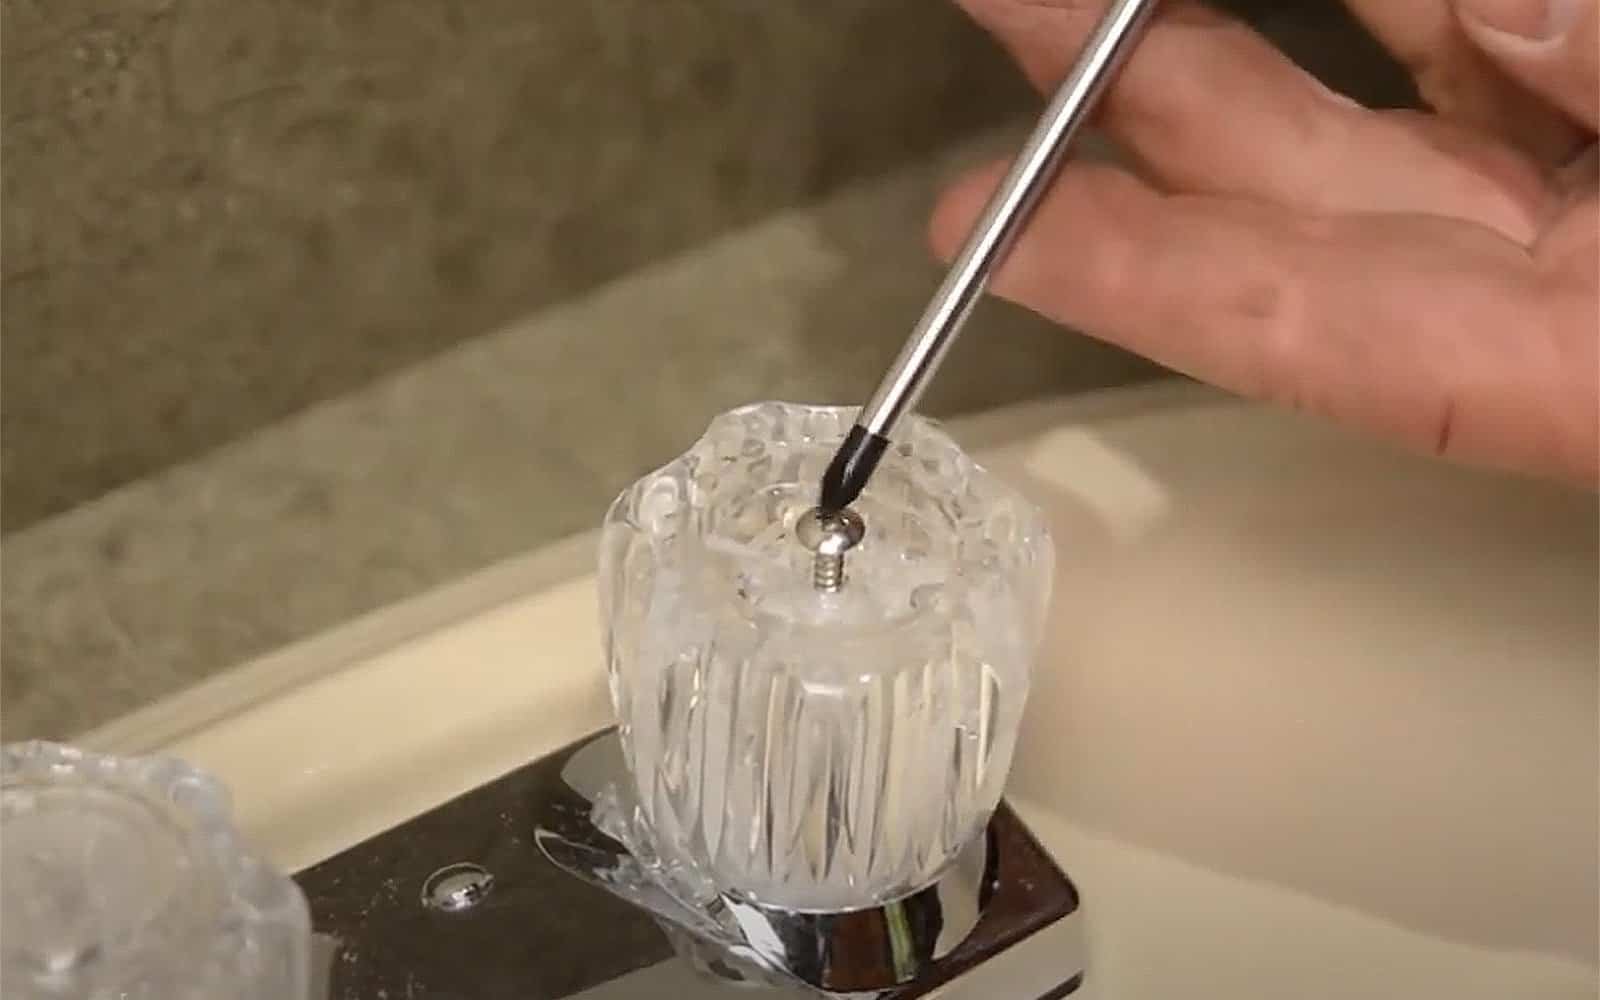
Unscrew the Set Screw
Once you’ve located the screw, use the appropriate tool (flathead or Phillips screwdriver, or an Allen wrench) to unscrew it. Turn it counterclockwise to loosen it. If the screw is stuck, apply WD-40 or penetrating oil, then wait a few minutes before trying again.
Pull the Handle Off
Once the screw is removed, you can usually pull the faucet handle straight off. If it feels stuck, it might be because of mineral buildup or corrosion. In that case, gently wiggle the handle while pulling it upward. You can also use pliers with a cloth around the handle to provide extra grip.
Check for Additional Components (If Necessary)
In some cases, other components like a cartridge or valve may connect to the faucet handle. If you plan to replace or repair the faucet, you may need to remove these as well. Consult the faucet’s manual for specific instructions.
Advanced Methods to Remove a Stubborn Faucet Handle
If the basic method doesn’t work, there are several advanced techniques you can try. These methods work well if the faucet handle is stuck, corroded, or rusted.
Use Heat and Cold to Loosen the Handle
- Step 1: Apply Heat
- Use a hairdryeror heat gun to apply heat to the faucet handle for 1–2 minutes. This will make the metal expand and could break the bond from rust or mineral buildup.
- Be cautious with the heat to avoid damaging the faucet’s finish.
- Step 2: Apply Cold
- After heating, place an ice packor bag of frozen peas on the handle for another 1–2 minutes. The cold will contract the metal, which can help further loosen the bond.
- Step 3: Remove the Handle
- After applying heat and cold, try removing the handle again. The expansion and contraction of the metal should make it easier to pull off.
Use a Faucet Handle Puller
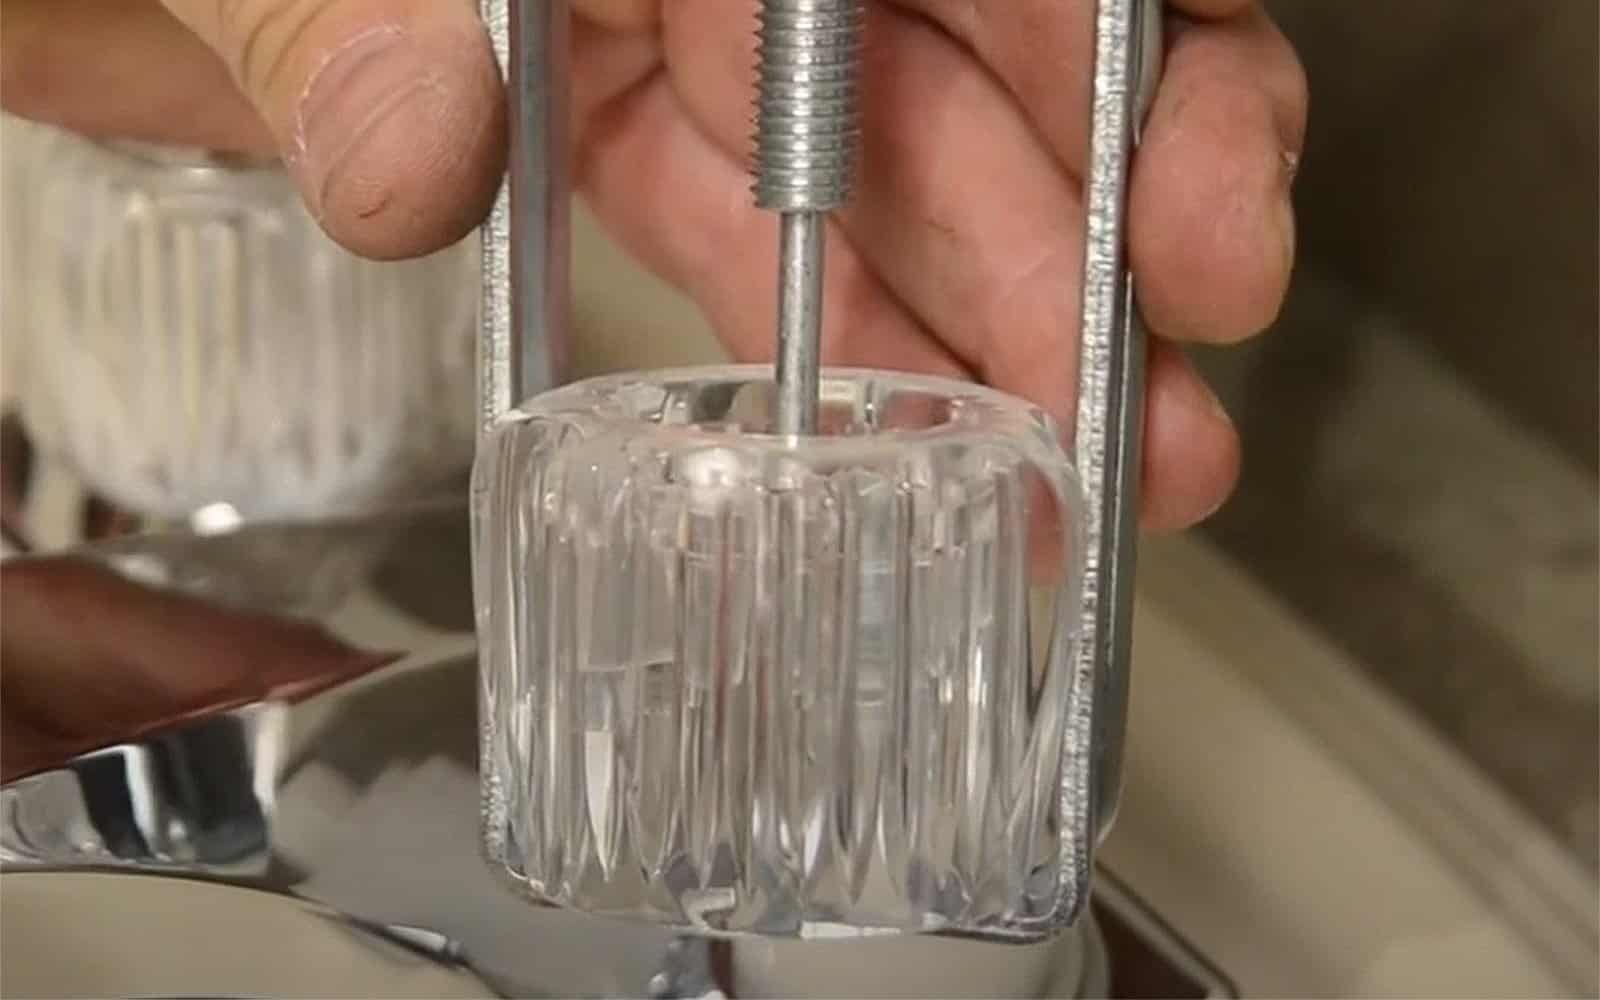
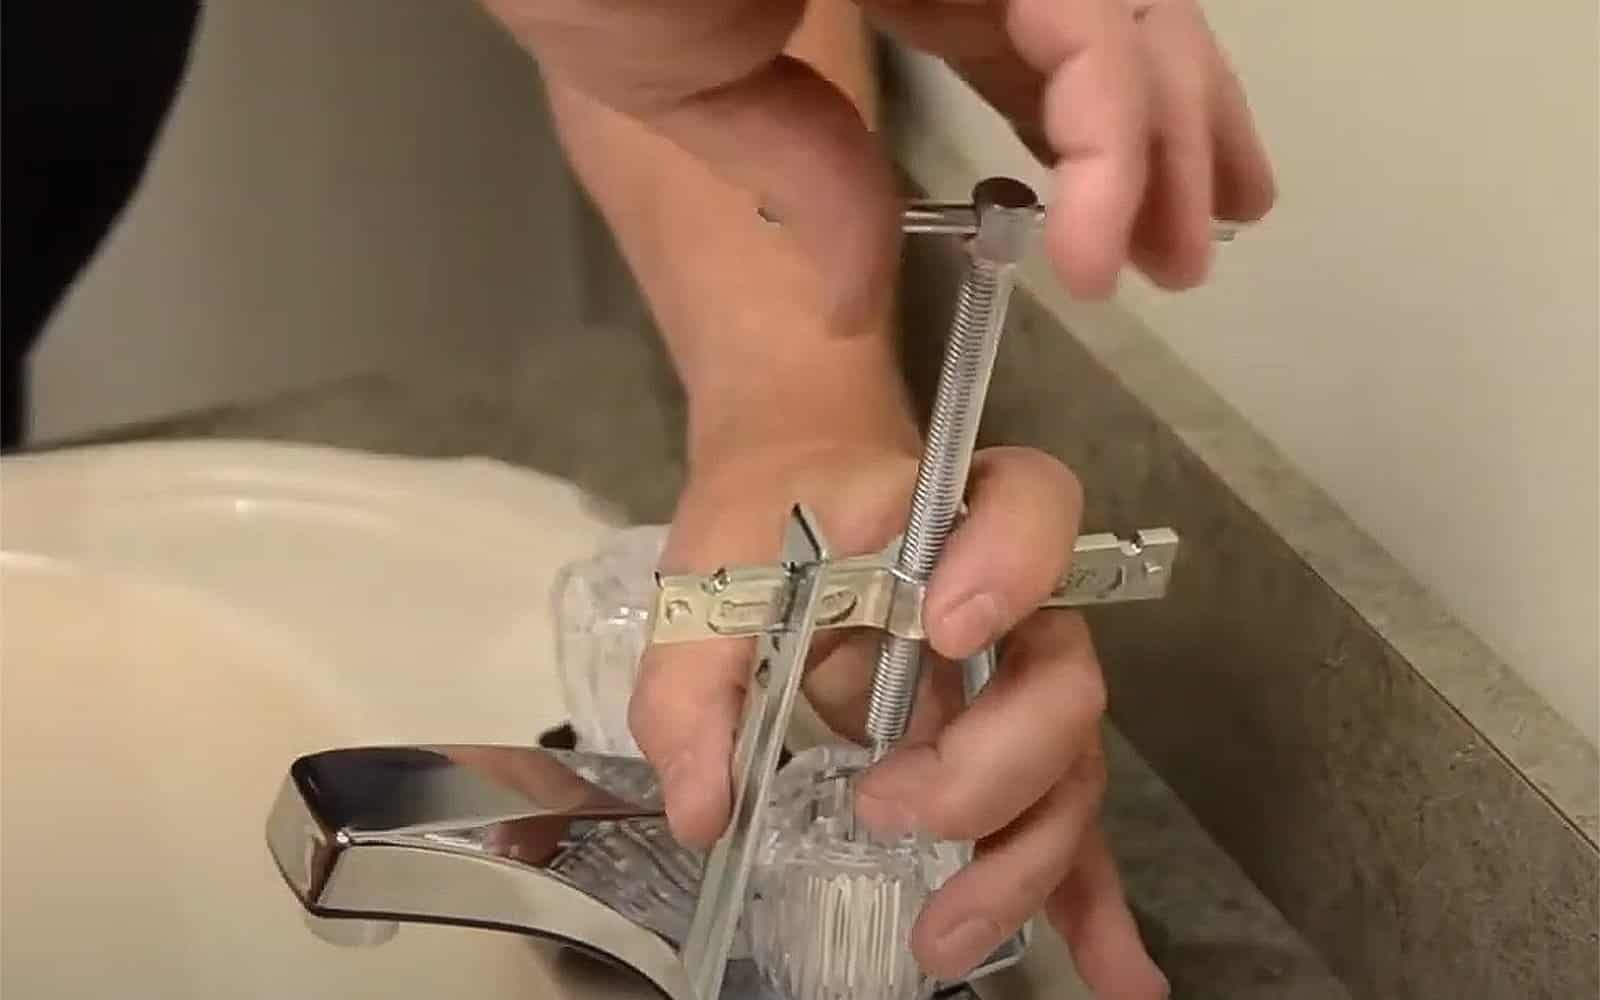
A faucet handle puller is a tool made to remove stubborn handles that won’t come off with basic methods. This tool works by applying even pressure around the handle to slowly pull it off.
- Step 1: Position the Puller
- Place the puller’s arms around the faucet handle base and align the central screw with the handle stem.
- Step 2: Tighten the Puller
- Begin tightening the screw on the puller. This will gradually pull the handle off the faucet. Make sure to apply steady pressure and don’t rush the process.
- Step 3: Remove the Handle
- Continue tightening the puller until the handle is fully removed. If the handle doesn’t come off right away, continue to apply pressure until it loosens.
Tapping with a Hammer
- Step 1: Protect the Faucet
- Wrap the faucet handle with a soft clothor use a rubber mallet to prevent damage during tapping.
- Step 2: Tap Gently
- Using a small hammer or rubber mallet, tap gently on the handle to loosen any rust or buildup. Tap around the base of the handle where it connects to the faucet body.
- Step 3: Try Removing the Handle
- After tapping, attempt to remove the handle again. The vibrations may have loosened any rust or buildup that was keeping the handle stuck.
Using Pliers for Extra Grip
If the handle is still stubborn, pliers can help you apply additional leverage.
- Step 1: Protect the Handle
- Use a clothor needle-nose pliers to grip the handle. This helps avoid damaging the faucet and gives you a better grip.
- Step 2: Grip and Twist
- Firmly grip the handle with the pliers and gently twist while pulling. If the handle is stuck, you can wiggle it back and forth to break the bond.
Common Issues When Removing a Faucet Handle
- Stubborn Screws: Spray WD-40 on the rusted screws, wait a few minutes, and try again.
- Broken Handle: Sometimes, faucet handles can become fragile and break during removal. If this happens, carefully remove any broken pieces and be sure to replace them with a matching handle.
- No Visible Set Screw: If you can’t find the screw, double-check your faucet model. Some handles have hidden screws or require a special tool to remove them.
Replacing the Handle
Conclusion
Removing a faucet handle is easy and important for fixing or replacing your faucet. Just use the right tools and follow these simple steps, and you’ll finish quickly. Whether fixing a leak, changing an old handle, or cleaning underneath, knowing how to remove the handle saves you time and money. If you run into any issues, check the faucet’s instructions or call a plumber for help.
If you’re thinking about upgrading your faucet, head over to Rosana». They have a great selection of high-quality faucets to match your style and needs. You’ll find plenty of designs to improve your bathroom or kitchen!

