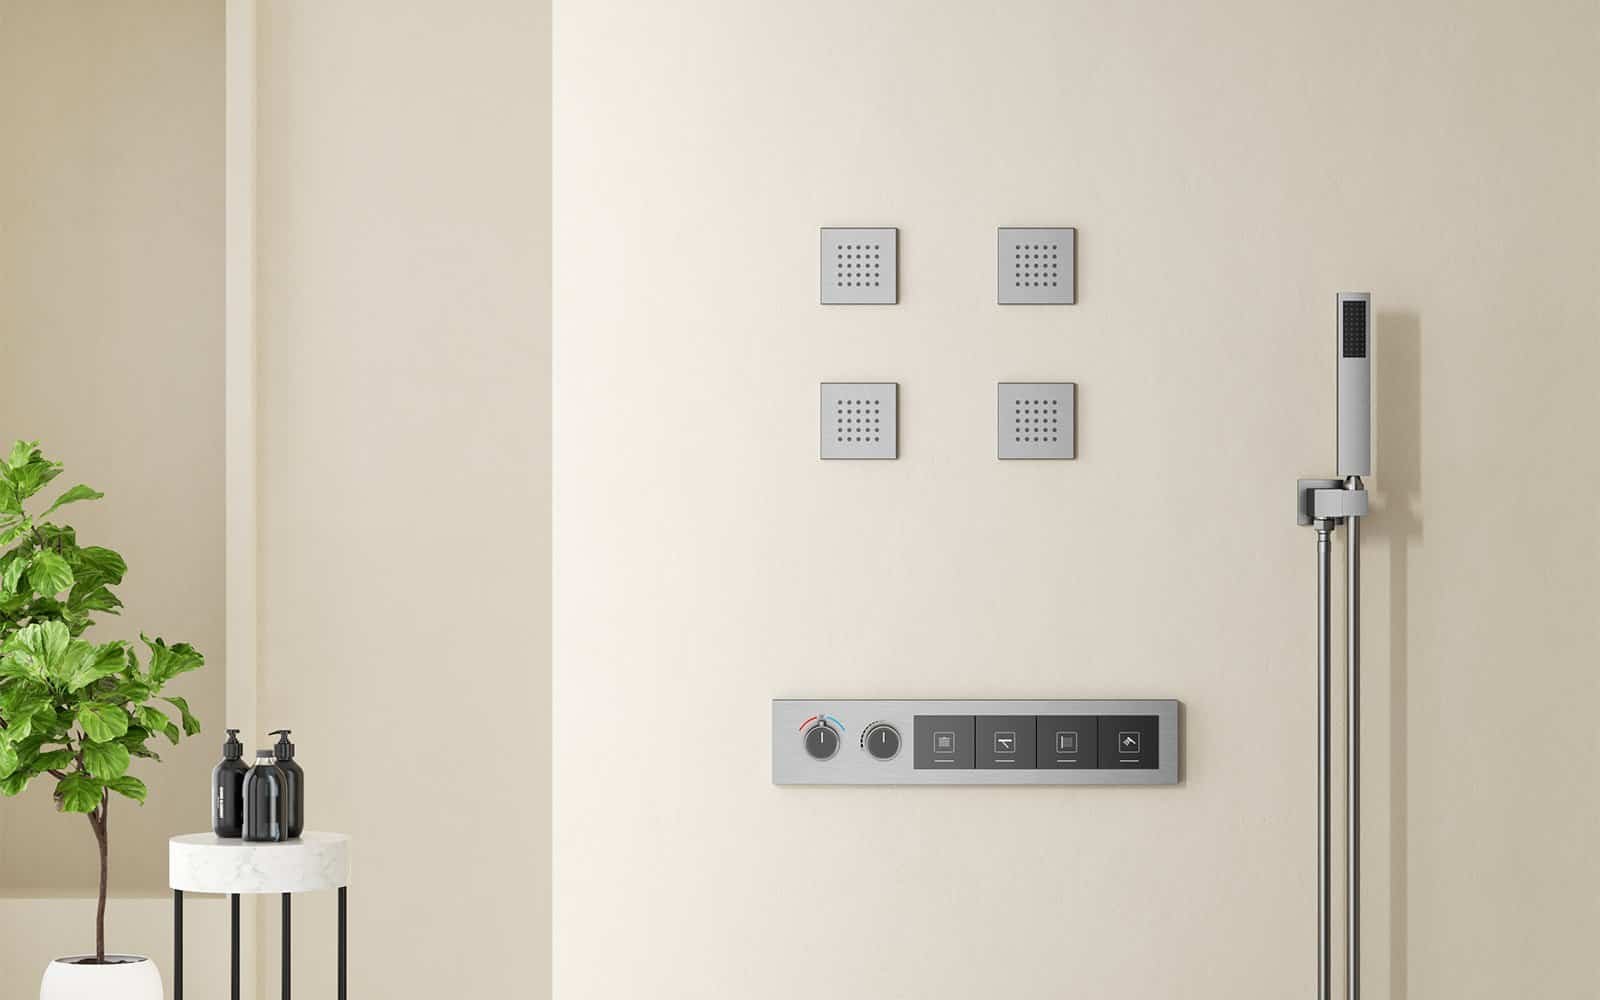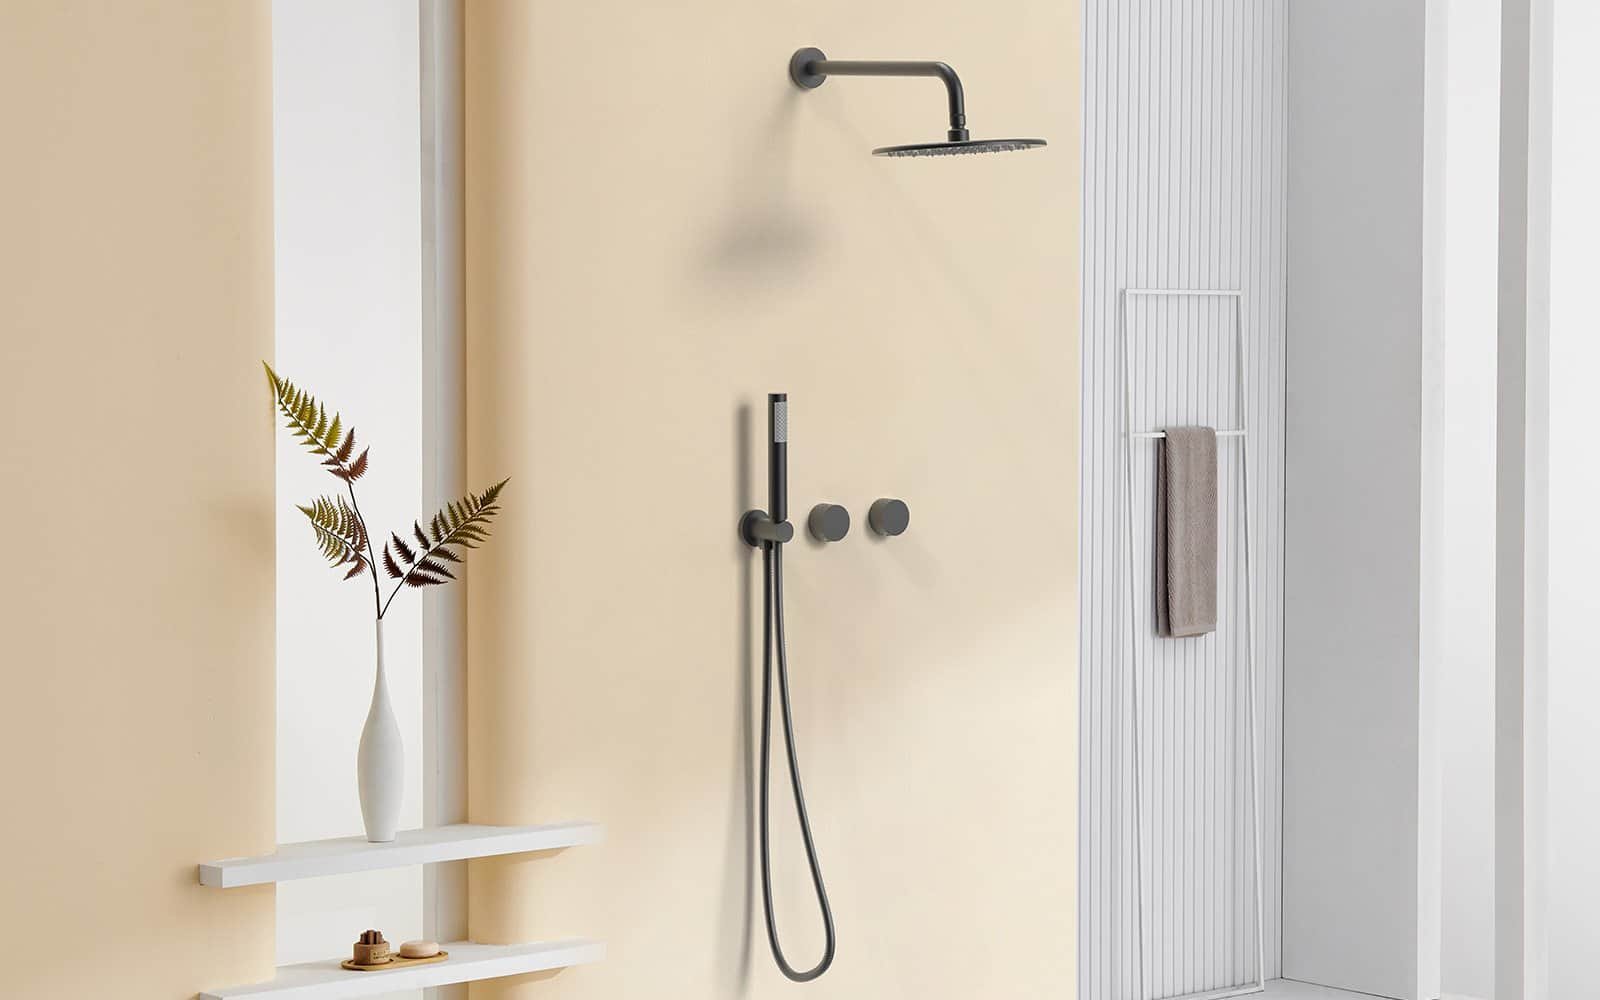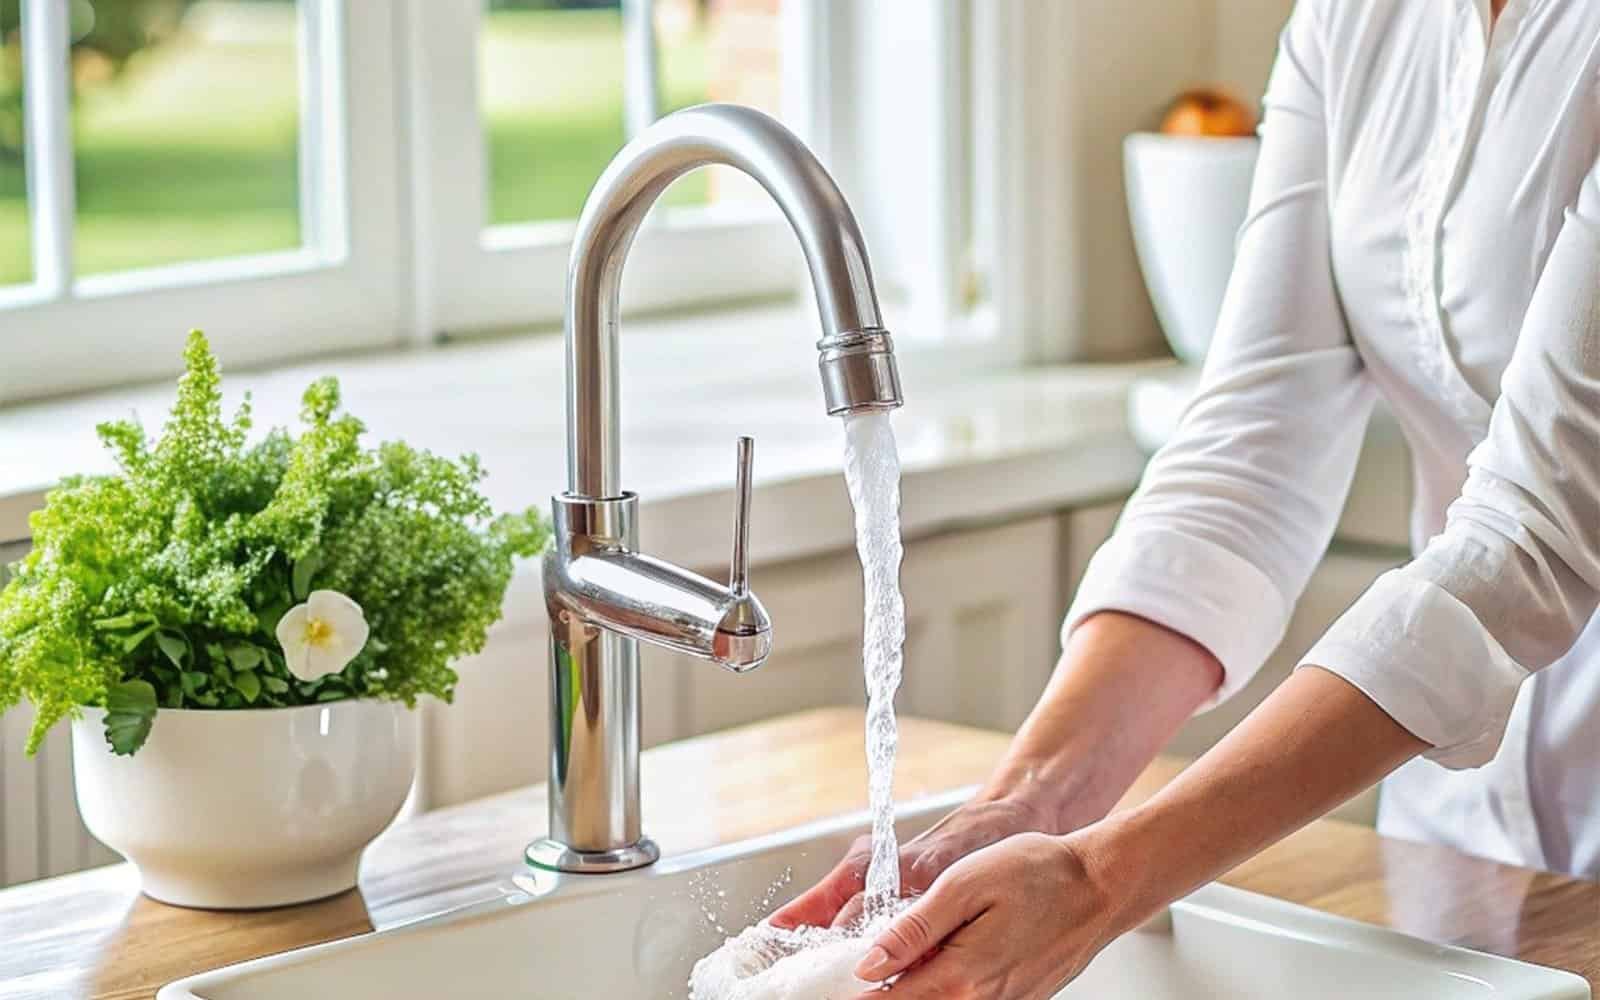
Is your shower faucet leaking? You might be able to fix it yourself without calling a plumber.Understanding how your shower faucet works is key to performing a simple shower faucet repair.
This post will explain the common causes of shower faucet malfunctions and guide you through the steps to fix them. With some basic knowledge, you can easily handle a shower faucet repair on your own.
Common Shower Faucet Problems
Before fixing your shower faucet, know what problems might occur. Wear and tear, corrosion, or poor installation can cause these issues. Some common issues are:
- Dripping Faucet: This is one of the most common problems. A worn-out washer, damaged cartridge, or corroded valve can cause a dripping shower faucet.
- Low Water Pressure: Low shower pressure may be because of issues with the faucet, showerhead, or plumbing.
- Leaking Faucet: A leaky faucet can waste a lot of water and cause your water bills to spike. Leaks are often because of damaged washers, seals, or O-rings.
- Temperature Control Issues: A faulty cartridge or valve can cause temperature control problems.
- Stiff Handle: A hard-to-turn handle may result from mineral build-up, a broken cartridge, or worn-out parts.
Tools for Shower Faucet Repair
Before starting the repair, make sure you have the right tools on hand. Here’s a list of the basic tools you’ll likely need:
- Adjustable Wrenchor Pliers
- Screwdriver(Phillips and flat-head)
- Allen Wrenches(if your faucet uses hex screws)
- Plumber’s Tape(Teflon tape)
- Replacement Parts(cartridges, washers, O-rings, seals, etc.)
- Cleaning Solution(vinegar or mild cleanser)
- Flashlight(to see small parts inside the faucet)
- Bucket or Towels(to catch water during disassembly)
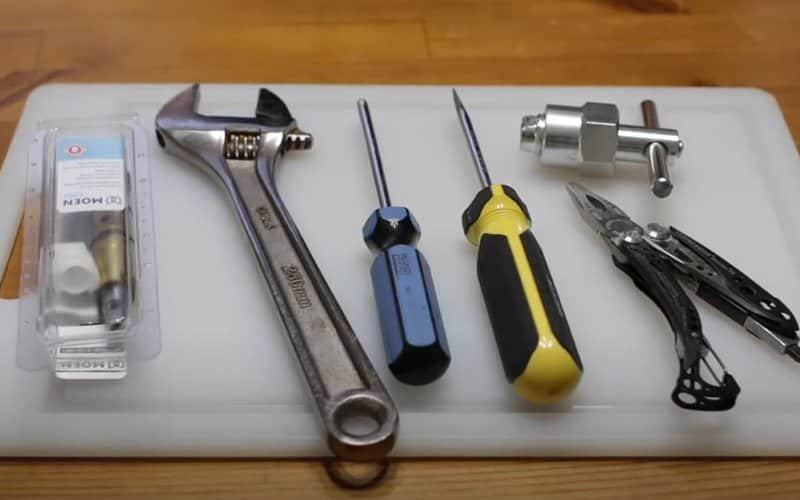
(via.Matt Taylor Variety»)
Step-by-Step Guide to Shower Faucet Repair
Turn Off the Water Supply
Turn off the water supply before working on your shower faucet to prevent flooding or leaks. The shut-off valve is usually near the shower or in the main water line. Once it’s off, turn on the faucet to relieve any remaining water pressure.
Inspect the Handle and Remove the Cover Plate
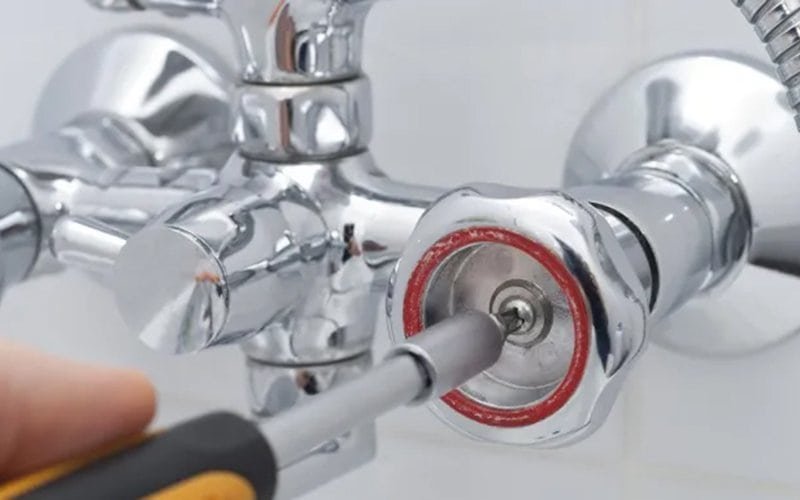
- Access the handle: Use a pocketknife to pry off the handle cap if there is one. This will expose the screw holding the handle in place.
- Unscrew and remove: Loosen and remove the handle screw with a screwdriver, then pull off the handle. If it sticks, applying heat with a hairdryer can help loosen it.
Remove the Faucet Cartridge or Valve Assembly
- Remove trim: You may need to take off trim pieces or escutcheons to reach the internal parts.
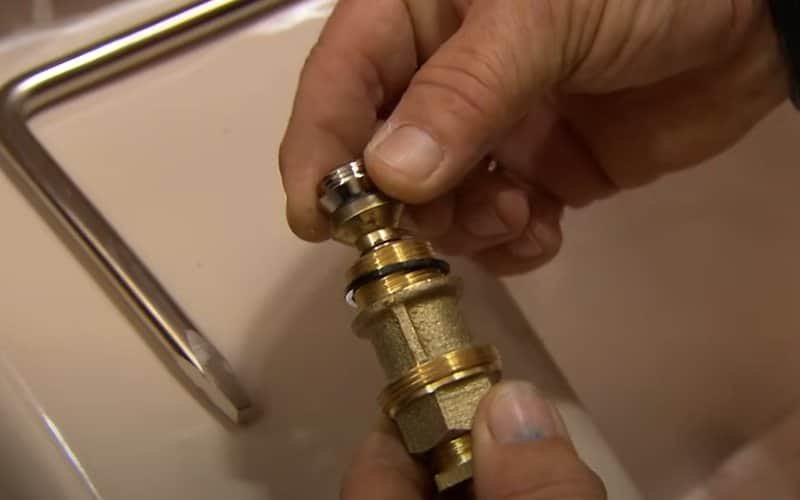
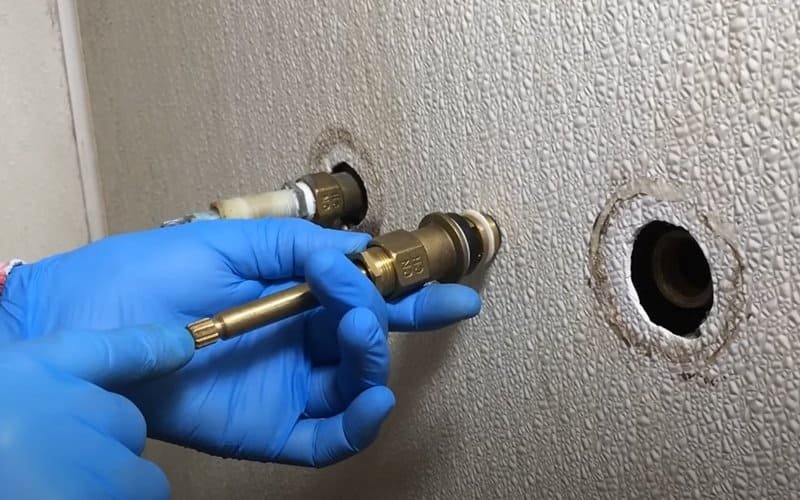
- Extract the cartridge or stem: For cartridge-style faucets, pry up the retaining clip and pull out the cartridge using pliers. If it’s stuck, you may need a cartridge puller
Check for Damage or Wear
With the faucet’s inner components exposed, you can now inspect them for any signs of wear or damage. Look for:
- Worn-out washers: This is often the cause of leaks and drips.
- Corroded cartridges: Corrosion can lead to temperature control issues and leaks.
- Cracked O-rings: These rubber seals can wear out over time, causing water to leak.
If you spot any damaged components, replace them with new parts. You can take the old parts to a hardware store to match the correct size and type for replacements.
(via.This Old House»)
Clean the Faucet Components
If there’s mineral build-up or debris in the faucet parts, use a cleaning solution to remove it. A mixture of vinegar and water works well for dissolving mineral deposits. Make sure to clean the cartridge, valve, and other components thoroughly before reassembling.
Install New Parts
- Insert new cartridge: Align and push the new cartridge into place as per instructions.
- Reattach trim: Reassemble any trim pieces or escutcheons after replacing components.
(via. Frugal DIY»)
Reassemble the Faucet Handle
Once the internal components are in place, reattach the faucet handle and any decorative covers. Tighten the screws carefully, but avoid tightening too much, which could cause damage.
Test for Leaks and Proper Functioning
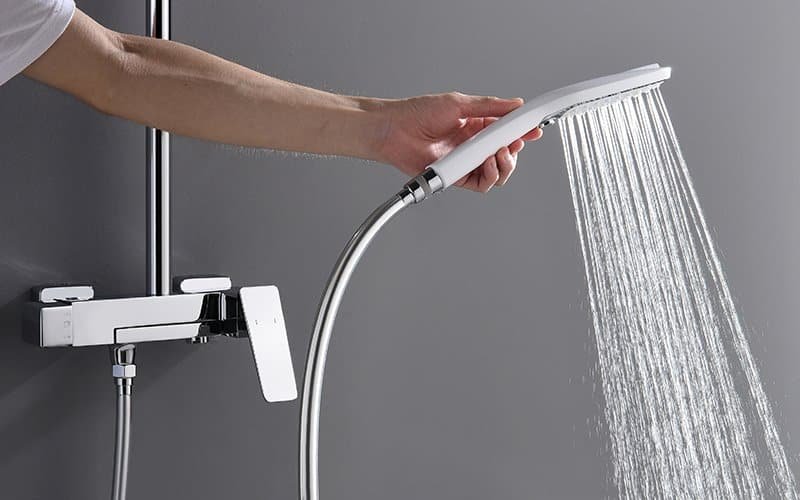
- Turn on the water supply: Restore water supply and check for leaks by running water through the faucet.
- Inspect connections: Look at all connections to ensure there are no leaks; if leaks persist, recheck your assembly and seals
- Watch for issues: Check your faucet over the next few days for leaks or problems that may appear.
Tips for Success
- Always keep a towel handy to soak up any excess water that may escape during disassembly.
- Use Teflon tape on threaded connections to prevent leaks.
- Document the Disassembly Process:
- Take photos as you take apart the faucet. This can help you put it back together later.
- If you have more than one part, label them or put them in separate containers so you can put them back the right way.
- If you’re unsure about which replacement parts to buy, take old parts with you for comparison at the store.
- If you’re unsure about how to fix it or have problems after trying, call a plumber. It’s better to get help than risk making things worse.
Preventing Future Faucet Problems
-
Clean your faucet regularly: This helps prevent mineral build-up and other issues that can cause malfunctions.
- Check for leaks frequently: Addressing leaks early on can prevent water waste and further damage to your faucet.
- Avoid using too much force: Don’t force a stiff handle, as it can damage internal parts.
- Use quality parts: Always choose high-quality components to extend your faucet’s lifespan.
Conclusion
Tackling shower faucet repair yourself is rewarding and saves money. With the right tools and parts, most repairs are easy for most homeowners. Regular maintenance and quick fixes can extend your faucet’s life and prevent costly repairs. If you are uncertain or the issue persists, it is advisable to consult a professional.

